
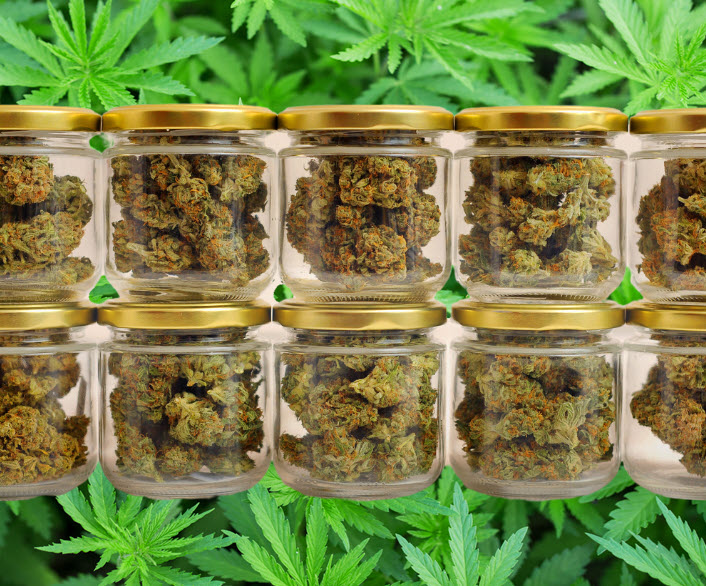
Are you tired of spending hours manually curing your cannabis buds? Do you want to take your curing process to the next level? Look no further, because building an automated curing system for your cannabis is the answer to all your prayers. Not only will it simplify the process, but it will also improve the quality of your buds. Plus, it’s a fun and rewarding project for all you DIY enthusiasts out there. So, grab your tools and let’s get started!
First things first, let’s talk about the benefits of having an automated curing system. One of the biggest advantages is the time and effort it saves you. Instead of constantly monitoring and adjusting the temperature and humidity levels, your system will do it for you. This means you can spend more time doing the things you love, like smoking your perfectly cured buds.
But that’s not all, folks. An automated curing system also ensures consistency in the curing process. This means that each batch of buds will have the same level of quality, resulting in a more enjoyable smoking experience. Plus, it eliminates the risk of human error, which can often lead to mold or other issues with your buds.
Now, let’s talk about the nitty-gritty of building your own automated curing system. The first thing you’ll need is a designated space for your system. This can be a closet, a spare room, or even a grow tent. Just make sure it’s a well-ventilated area with enough space for your buds to hang and for your system to fit comfortably.
Next, you’ll need to gather your materials. This includes a dehumidifier, a humidifier, a temperature controller, a fan, and some ducting. You can also add in some extras like a hygrometer and a timer for added convenience. These materials can be found at your local hardware store or online.
Once you have all your materials, it’s time to put them together. The first step is to set up your dehumidifier and humidifier on opposite